Photography is an art that blends creativity with technical skills. One of the most important elements in capturing stunning images is lighting. The way you manage light determines the mood, depth, and overall quality of your photographs. Mastering how to set up studio lighting for photography not only enhances the aesthetics of your work but also expands your creative possibilities, whether you’re a professional or just starting out.
This guide covers everything you need to know about studio lighting from essential equipment to basic setups and advanced techniques so you can confidently create professional looking photos.
Why Studio Lighting Matters
In photography, light is as essential as paint is to a painter. The difference between an average picture and a breathtaking one often lies in how the subject is lit.
By learning how to set up studio lighting for photography, you gain the ability to:
- Control the atmosphere and mood of your images.
- Highlight important details in the subject.
- Eliminate or soften unwanted shadows.
- Maintain consistency across professional sessions.
- Adapt to different genres of photography (portraits, fashion, product, etc.).
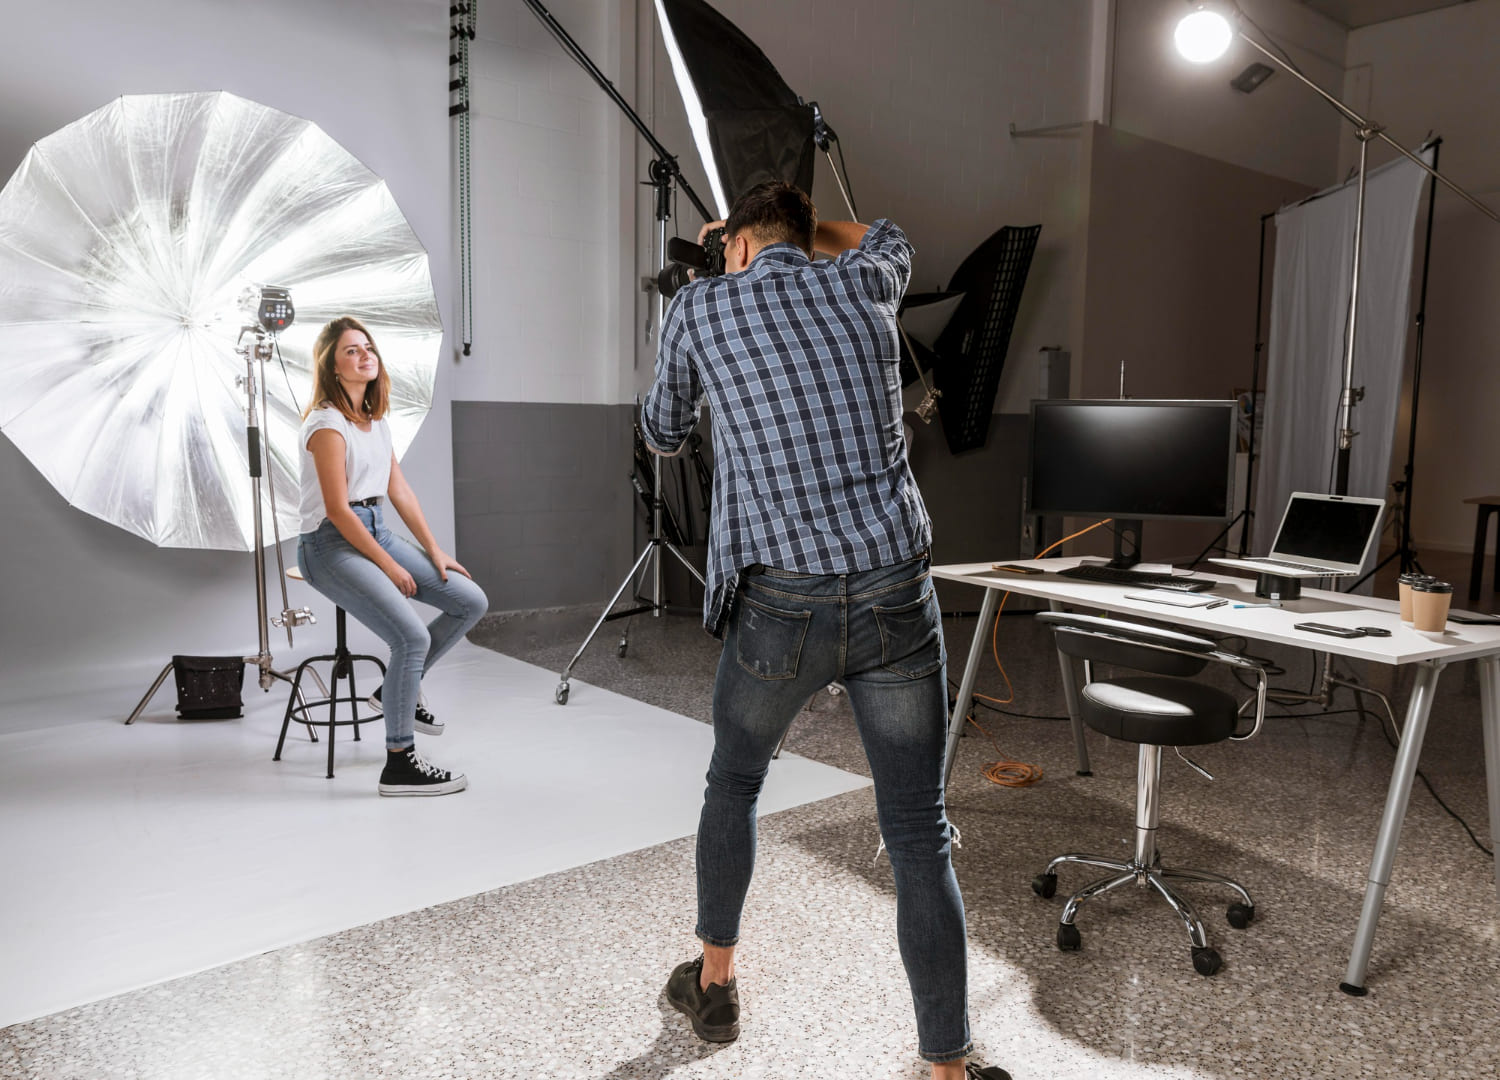
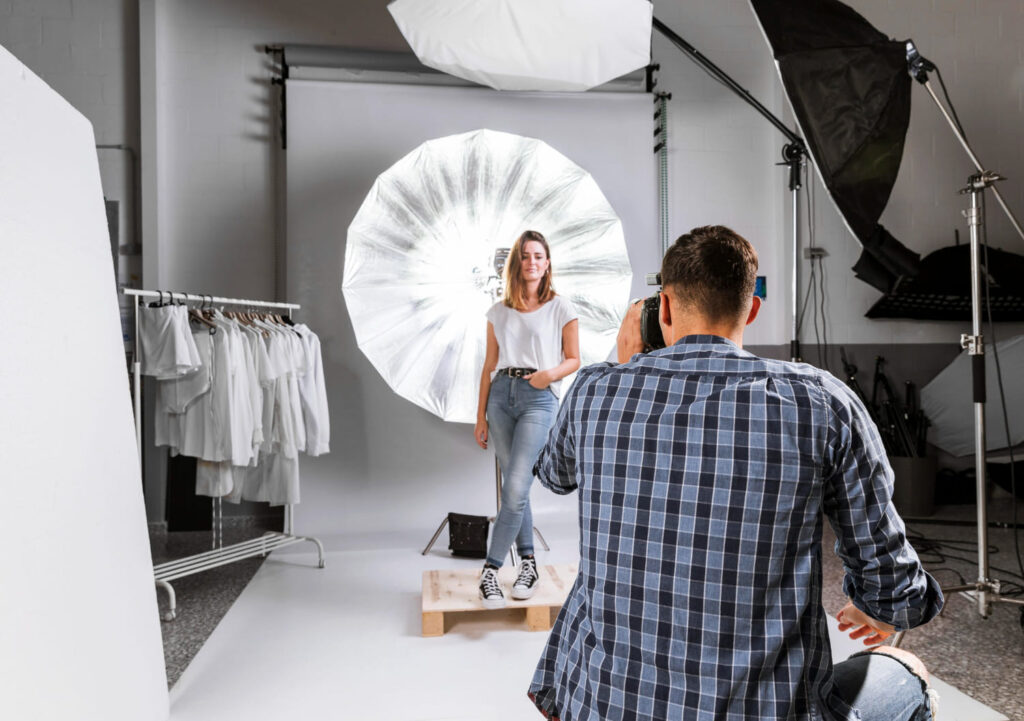
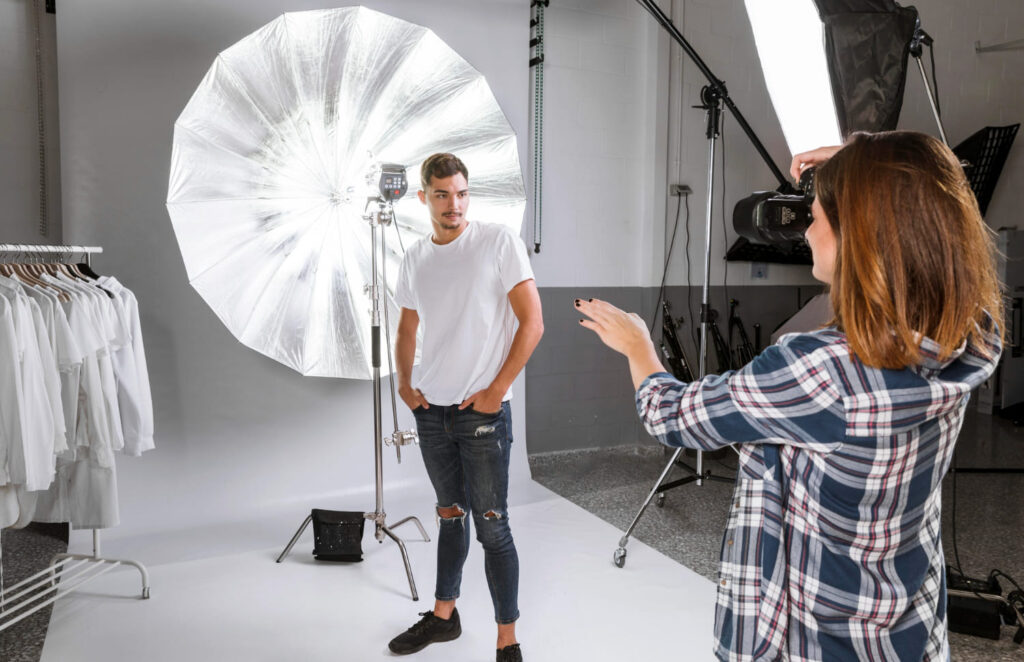
Essential Equipment for Studio Lighting
Before diving into setups, let’s explore the key pieces of gear that make studio lighting possible.
1. Light Sources
- Continuous lights: Great for beginners since you can see the effect in real time.
- Studio strobes or flashes: Offer power and versatility, making them the standard for professionals.
2. Light Modifiers
- Softboxes: Create soft, flattering light and reduce harsh shadows.
- Umbrellas: Affordable and easy to use, providing broad diffusion.
- Reflectors: Redirect light to fill shadows without needing another source.
- Grids and snoots: Control the spread and focus of light precisely.
3. Light Stands and Tripods
Sturdy stands ensure your lights and modifiers stay securely in place.
4. Backdrops
A simple but critical component that influences the look and feel of your final shot.
Understanding the Basics of Light
Before learning how to set up studio lighting for photography, you need to understand the fundamentals:
- Direction of light: Lighting from above, below, the side, or the front each creates different effects.
- Quality of light: Hard light creates sharp shadows; soft light results in gradual transitions.
- Color temperature: Measured in Kelvin, this defines whether light is warm, neutral, or cool.
- Intensity: Affects how bright or subtle the subject appears.
Common Studio Lighting Setups
Several classic lighting setups are widely used in studios. Learning these will give you a solid foundation.
1. One-Light Setup
Perfect for beginners, this involves a single light (often with a softbox) to create simple yet dramatic portraits.
2. Rembrandt Lighting
Recognizable by the small triangle of light under one eye, this style offers a dramatic yet natural look.
3. Butterfly Lighting
The light is placed above and in front of the subject, creating a butterfly shaped shadow under the nose. Ideal for beauty portraits.
4. Split Lighting
Illuminates only one side of the face, leaving the other in shadow. This adds mystery and intensity.
5. Three-Point Lighting
The industry standard for portraits and video:
- Key light: Main source of illumination.
- Fill light: Reduces shadows.
- Back light: Adds separation from the background.
Tips for Setting Up Studio Lighting
- Start with one light and build gradually.
- The closer the light is to your subject, the softer it appears.
- Use reflectors for natural shadow control.
- Avoid using only front light, as it can flatten facial features.
- Experiment with angles to find the most flattering result.
Adapting Lighting to Photography Styles
The process of how to set up studio lighting for photography depends on the type of images you’re shooting:
- Portraits: Focus on flattering facial features with soft, even lighting.
- Fashion: Use bright, controlled setups to highlight textures and clothing.
- Product photography: Aim for shadowless lighting to showcase details clearly.
- Creative photography: Play with colored gels, unusual angles, and shadows.
Avoiding Common Mistakes
- Adding too many lights without a clear purpose.
- Ignoring color temperature balance.
- Placing lights too high or too low, creating awkward shadows.
- Forgetting to consider how the backdrop interacts with your lighting.
Advanced Lighting Techniques
Once you’re comfortable with the basics, try these more advanced approaches:
- High-key lighting: Bright, shadow-free images with a clean, modern look.
- Low-key lighting: Dark, dramatic images that emphasize contrast.
- Colored gels: Add filters for mood, atmosphere, or creative effects.
- Rim lighting: Position lights behind the subject to create a glowing edge.
Final Thoughts Mastering Studio Lighting
Understanding how to set up studio lighting for photography isn’t about having the most expensive equipment, it’s about learning how light works and using it creatively. With practice, experimentation, and patience, you can turn simple setups into professional quality images.
Start small with basic equipment, master the foundational setups, and then branch out into advanced techniques.Remember in photography, light doesn’t just illuminate it tells stories. 📸


